Touch Button Layouts

To open POS button grid menus select Sites > [Look and feel] Touch button layouts.
It is possible to create many touch button layouts. For each layout the user has a choice of many different parts to put in. The parts are either predefined or button grid parts. For the button grid, the user attaches menus. The Touch button layouts are finally attached to one of these: stores, terminals or users.
It is possible to import and export touch button layouts as well.
When a Touch button layout is imported, its styles and menu headers are imported as well.
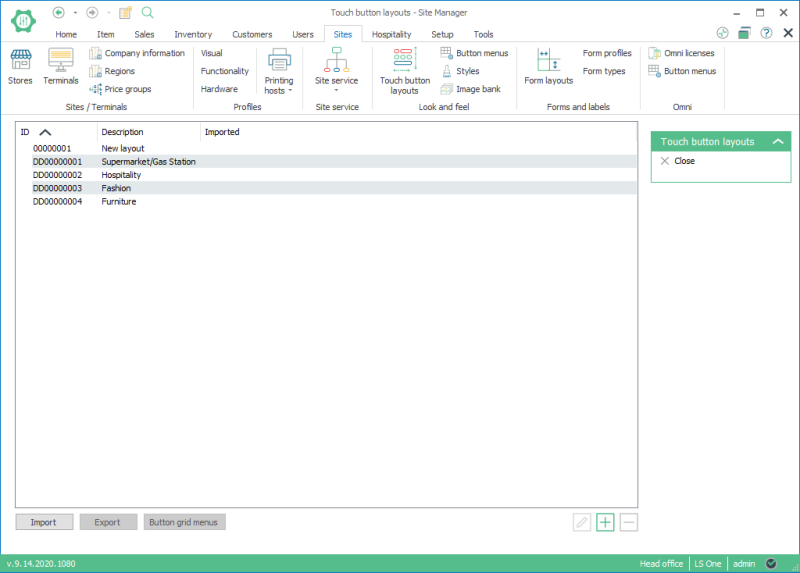

In new setups it may be easier to change existing data than to create new data from scratch. In the Site Manager it is possible to create the default data that is used in the Demo company and it is even possible to create only certain parts of it as the Touch button layout. See Insert Default Data for information on how to insert default data or only part of the data.
 Create a Touch button layout
To create a new touch button layout do the following:
- Select Store setup > Look and feel > Touch button layouts.
- Use the Add button to create a new layout.
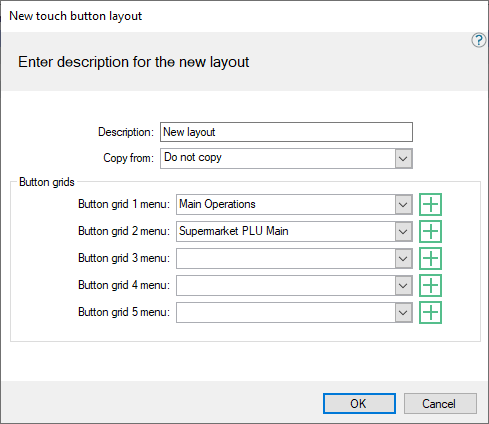
- Fill in a desciption for the new layout.
- Select which button grids should be used when you add them to the layout. This can be done later if you have not created the button grids yet.
- Press the OK button and the touch button layout opens.
- When the layout is new, it is empty. You have to put in all of the different parts of the screen.
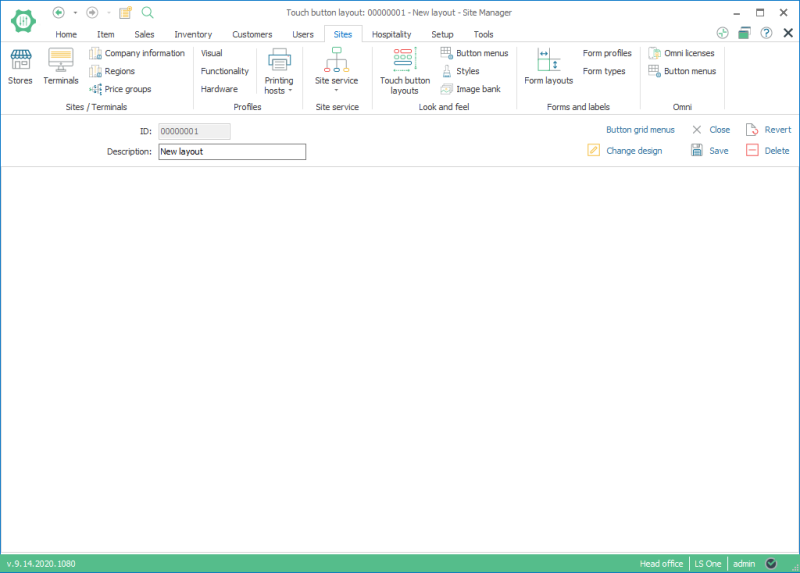
- When the layout is new, it is empty. You have to put in all of the different parts of the screen.
- Select the option Change design
- A new window opens; this is the customization form with all the possible parts that can be chosen for the POS.
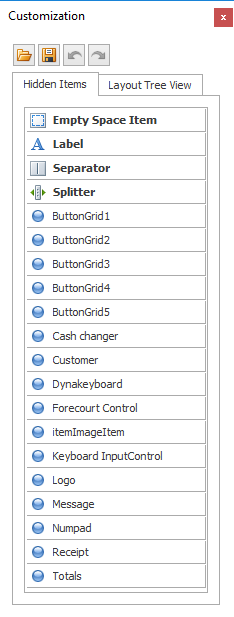
- Use the drag and drop feature to drag the parts to the screen. Only drag into the layout those parts which are required.
- The customization window includes all the possible parts that you can have in the POS layout.
- When a part is dragged into the layout it fills up the available space.
- It is possible to drag in more parts even though the screen if full, they will adjust in size.
- The user is in design mode until the customization form is closed, it is always possible to go into design mode again.
- It is only possible to move parts in the layout while in design mode.
- The right click button has a few actions while in design mode:
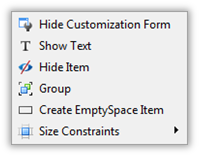
- The layout form immediately displays how the LS POS is going to be displayed.
- The customization form parts:
- ButtonGrid1 to Buttongrid5 are parts which menus can be attached to. The menus are created in the operation POS Button grid menus.
- Empty Space Item, Label, Separator and Splitter are extra features.
- The Receipt option is selected to display the receipt panel.
- Totals displays the Total panel.
- All the others on the list are similar to Totals and Receipt. They display panels depending on their functionality.
- When all the required parts have been put into the layout and their size and location adjusted, leave design mode by closing the customization form.
- The action, Button grid menus, opens the form Edit touch button layout and in it, it is possible to edit which menus are connected to which button grids.
- In the touch button layout, it is possible to use the menu buttons and they will open their submenus.
- For the menu buttons in the layout it is possible to edit the buttons as they are in the POS (using the mouse’s right click and selecting Button properties).
(See Design Possibilities). - When the layout is finished, save it and close the form.
- Touch button layouts can then be attached to the Store, Terminal and User as previously mentioned.
Touch button layout examples
The examples in this chapter use the Demo Data, which is included in the Site Manager.
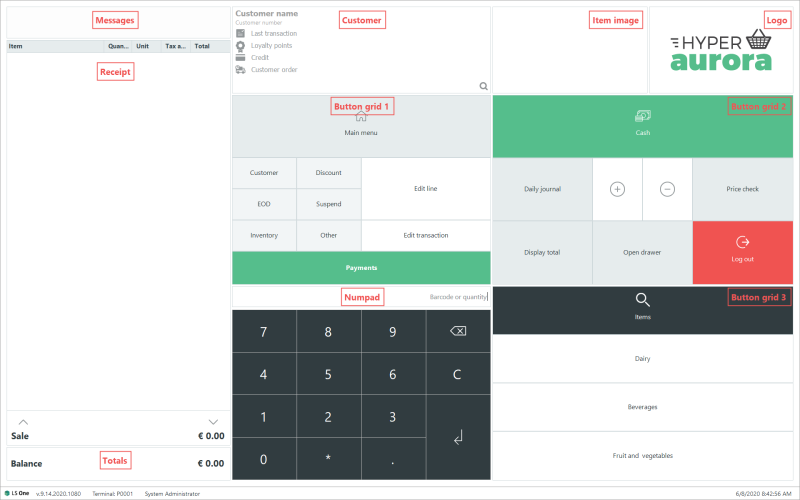
The following picture displays the different parts of the touch button layout for the Supermarket POS:
The following picture displays the different parts in the touch button layout for the Fashion POS:
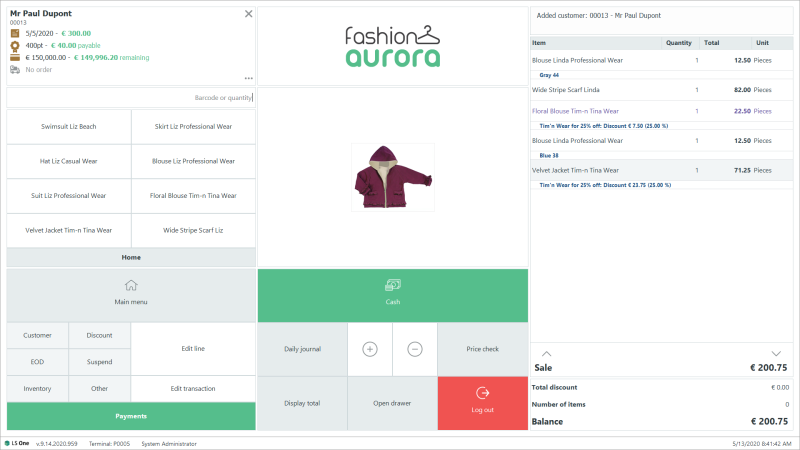
These two examples are very similar to each other but there are a few differences:
- The parts are in different places and in different sizes.
- The Button Grid part 3 is attached with a different menu.
It is quite easy to create new Touch button layouts and attach them to stores, terminals or users. Terminals inside one store might have different touch button layouts depending on their purpose and location. They may be very similar but have different item menus. Another example of different terminals depending on users is that POS users who are left-handed might find a different screen layout more comfortable to use.
| Last updated: | June 2020 |
| Version: | LS One 2020 |

